
Appearance
File Connections
File Connections provide a pointer to a local file repository (folder). Any files that are processed are done so in this local repository. Transports are used to send or receive files from this local repository. You configure the File Connection with the appropriate details for locating or creating a file.
By being a separate module from the File Definition it allows you to create a single File Definition and use it against multiple similar files in different locations simply by assigning a different File Connection.
When assigning a File Connection to a File Definition it is considered a design time assignment, when coming to use the File Definition in an Action you have the chance to reassign the File Connection. This allows you to use the same File Definition in multiple Actions each with their own File Connection. This is run time assignment.
Create a File Connection
Open the Flow Designer
Navigate to
Configuration > Components > Data Connections > File ConnectionsRight click
File Connectionsand selectNew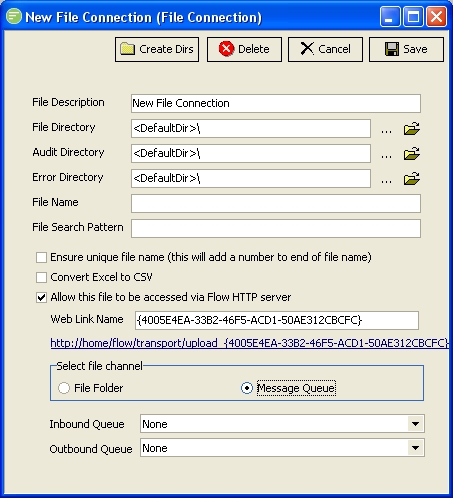
Fill in the details and click
Save. See File Connection
Edit a File Connection
TIP
A single left click on the File Connection will also open the edit window
- Open the Flow Designer
- Navigate to
Configuration > Components > Data Connections > File Connections - Right click the desired
File Connectionand selectEdit - Change the details as required and click
Save. See File Connection
Delete a File Connection
Open the Flow Designer
Navigate to
Configuration > Components > Data Connections > File ConnectionsRight click the desired
File Connectionand selectDelete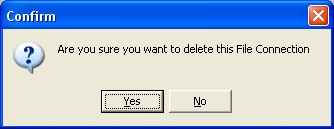
Click
Yesto confirm your choice
Copy a File Connection
- Open the Flow Designer
- Navigate to
Configuration > Components > Data Connections > File Connections - Right click the desired
File Connectionand selectCopy - The copy of the File Connection will display in the edit window. Change the details as required and click
Save. See File Connection
Export a File Connection
Open the Flow Designer
Navigate to
Configuration > Components > Data Connections > File ConnectionsRight click the desired
File Connectionand selectExport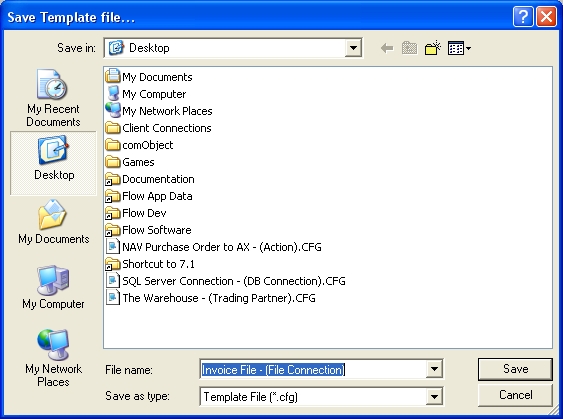
The template file will be assigned a default file name consisting of the name and type of the module. Change the name if desired and click
Save. See Exporting and Importing
Import a File Connection
Open the Flow Designer
Navigate to
Configuration > Components > Data Connections > File ConnectionsRight click
File Connectionsand selectImport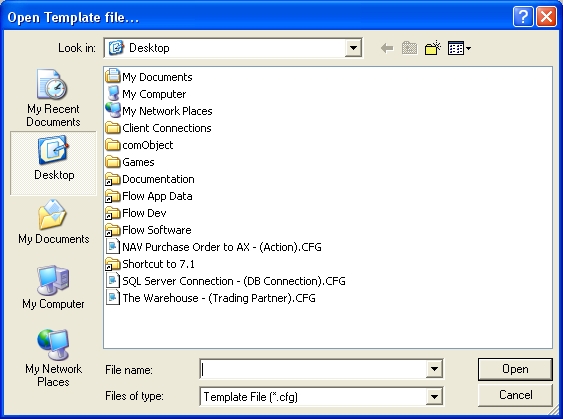
Select the Template file you wish to import and click
Open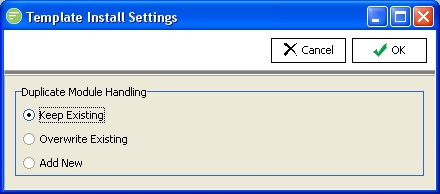
Choose the import method and click
OK. See Exporting and Importing A confirmation screen will show what has been imported.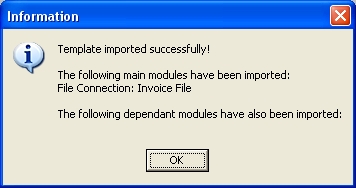
Change Security on File Connection
- Open the Flow Designer
- Navigate to
Configuration > Components > Data Connections > File Connections - Right click the desired
File Connectionand selectSecurity - Change the details as required and click
Save. See Managing Security
Refresh list of File Connections
- Open the Flow Designer
- Navigate to
Configuration > Components > Data Connections > File Connections - Right click
File Connectionsand selectRefresh